
To record professional audio with the Shure MV7I, connect it via USB or XLR to your computer and position it about 6-12 inches from your mouth with a pop filter. Check your input levels, aiming for peaks around -6 to -12 dB, and record in a quiet, acoustically treated space to reduce reflections and background noise. Use editing tools afterward to enhance clarity, balance, and consistency, and if you’re interested, you’ll find more tips to perfect your sound.
Key Takeaways
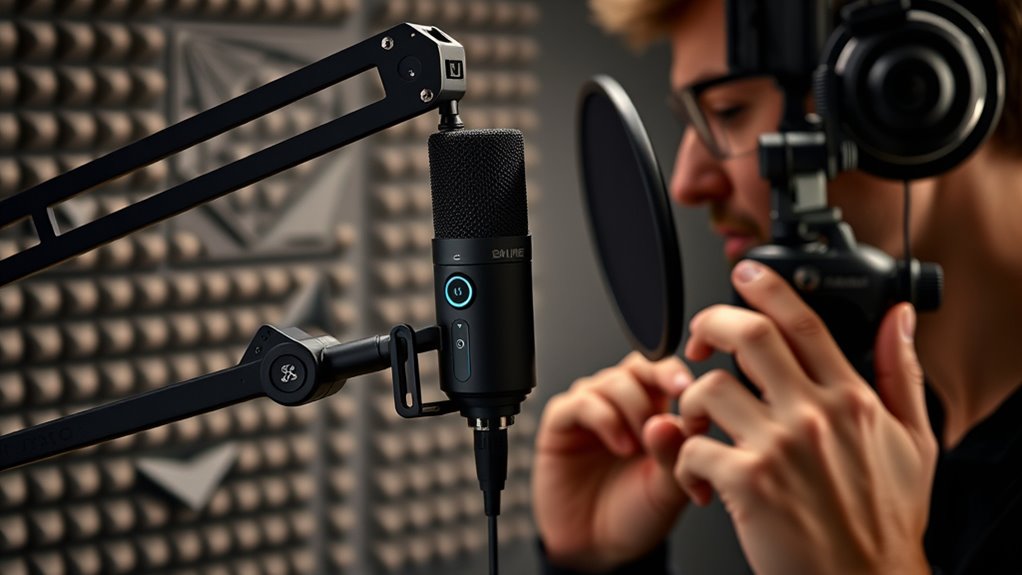
- Connect the MV7I via USB or XLR to your computer and position it 6-12 inches from your mouth with a pop filter.
- Set input levels in your recording software to peak around -6 dB to -12 dB for optimal clarity.
- Record in a quiet, acoustically treated environment using soft materials to minimize echo and background noise.
- Perform test recordings, adjust microphone position and gain to achieve clear, consistent sound quality.
- Edit the recording by trimming, equalizing, normalizing, and applying compression for a professional finish.

If you’re aiming for professional-quality audio, the Shure MV7I is a versatile microphone that can help you achieve just that. To get the best results, start with a solid microphone setup. Connect the MV7I to your computer or audio interface using the USB or XLR port, depending on your preferred connection. Make certain your microphone is positioned correctly—about 6 to 12 inches from your mouth—and use a pop filter if needed to minimize plosive sounds. Proper placement minimizes unwanted noise and captures your voice clearly. Once your microphone is set up, check your input levels. You want a strong signal without clipping or distortion. Adjust the gain control on the microphone or your audio interface until your voice peaks around -6 dB to -12 dB on your recording software meters. Ensuring your sound environment is well-controlled is crucial for capturing high-quality audio, as acoustics can significantly impact clarity and warmth. Next, focus on your environment. Record in a quiet, acoustically treated space to reduce echo and background noise. Use soft materials like foam panels, blankets, or curtains to absorb excess sound reflections. This will help your recordings sound cleaner and more professional. When you’re ready to record, open your preferred audio editing software. The Shure MV7I is compatible with popular programs like Audacity, Adobe Audition, or GarageBand. Before recording, do a quick test to check the audio quality, adjusting your microphone position and gain as needed. During recording, keep your microphone steady and avoid unnecessary movement to prevent shifts in audio quality. Maintain consistent distance from the mic for uniform sound levels. After recording, move on to audio editing. Use your software to trim unwanted sections, reduce noise, and apply equalization if necessary. Enhancing clarity and warmth can make your voice stand out. Normalize your audio levels to guarantee a consistent listening experience, especially if you’re editing multiple clips. Applying compression can help even out volume fluctuations and add a polished feel to your final product.

Mackie CR5BT 5.25" Creative Reference Powered Studio Monitors with Bluetooth, Tone Knob and Location Switch — Active Speakers for Music Production, Desktop Computer, Gaming, HiFi Listening
Mackie CR5BT Creative Reference Powered Studio Monitors combine studio-quality sound with a tone control and Bluetooth, making CR5BT...
As an affiliate, we earn on qualifying purchases.
Frequently Asked Questions
How Do I Connect the Shure MV7I to My Computer?
You connect the Shure MV7I to your computer via USB connectivity by plugging the included USB cable into the mic and your computer’s USB port. The microphone acts as an audio interface, so no additional equipment is needed. Once connected, your computer should recognize the mic automatically, allowing you to select it as your audio input device in your recording software. Adjust settings for ideal sound quality directly through the ShurePlus MOTIV app.
What Software Is Compatible With the Shure MV7I?
Think of your Shure MV7i as a versatile orchestra conductor, ready to work with various software. It’s compatible with popular options like GarageBand, Audacity, Adobe Audition, and Logic Pro X, which handle audio editing and sound enhancement seamlessly. These programs allow you to fine-tune your recordings, add effects, and improve sound quality. Simply connect your mic, select your software, and start creating professional-grade audio with ease.
How Do I Adjust Gain Settings for Optimal Sound?
To adjust gain settings for ideal sound, start by turning the gain knob on your Shure MV7I mic slowly while speaking at your usual volume. Listen for clarity without distortion or clipping. Use the gain adjustment to find a balance where your audio is loud enough but clean. Regularly monitor your sound levels with your recording software’s meters to guarantee consistent sound enhancement throughout your recording session.
Can the Shure MV7I Be Used Wirelessly?
The Shure MV7I isn’t designed for wireless use, as it lacks Bluetooth connectivity or wireless compatibility. You’ll need to connect it via USB or XLR cables for high-quality audio. If wireless convenience is a priority, consider a microphone with built-in Bluetooth connectivity, but for professional sound, wired connections like USB or XLR remain the best options.
What Are Common Troubleshooting Steps for Mic Issues?
Imagine your mic suddenly cuts out during a recording. First, check if your pop filter isn’t blocking the mic’s grille, which can cause issues. Then, verify your cable quality is good—poor cables often produce static or no sound. If problems persist, try disconnecting and reconnecting the mic, updating drivers, or testing with a different USB port. These steps usually resolve common mic issues quickly.
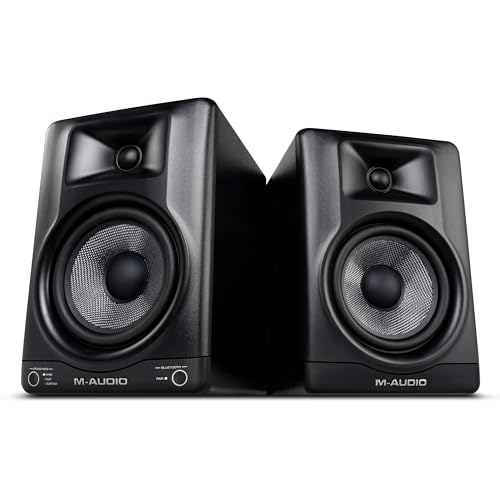
M-AUDIO BX5BT Pair 5" Desktop Studio Monitor Speakers with DSP and Bluetooth with App Control, for Music Production, Video Edits, Content Creation, Podcasting
Pro-Grade Sound in a Compact Design – Experience studio-quality clarity with 240W of bi-amplified power, delivering full-range audio...
As an affiliate, we earn on qualifying purchases.
Conclusion
Now that you know how to harness the Shure MV7i’s power, you’re like a modern-day Orpheus, capable of transforming raw sound into pure magic. With a few simple steps, you’ll elevate your recordings from ordinary to extraordinary, mesmerizing your audience just as Orpheus did with his enchanting music. So, go ahead—dive in, experiment, and let your voice resonate with clarity and professionalism. Your sonic masterpiece awaits, ready to echo through the ages.
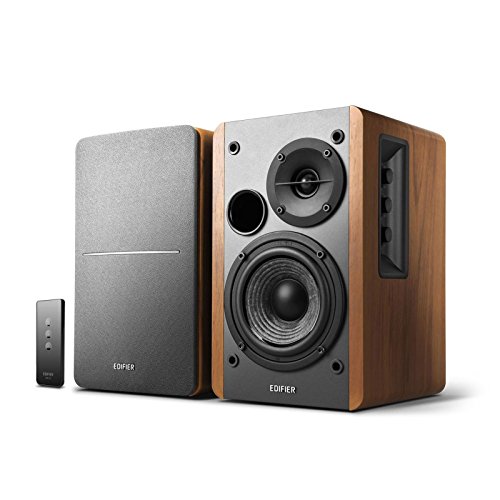
Edifier R1280T Powered Bookshelf Speakers - 2.0 Active Near Field Studio Monitor Speaker - Wooden Enclosure - 42 Watts RMS Power
2 x AUX INPUT - Convenient connection to any device that has a 3.5mm headphone output or dual...
As an affiliate, we earn on qualifying purchases.

(2) JBL 305P MkII 5" 2-Way Active Powered Studio Reference Monitors Speakers
PACKAGE INCLUDES: (2) 305P MkII 5 2-Way Powered Studio Reference Monitor Monitoring Speaker
As an affiliate, we earn on qualifying purchases.